Quick Links
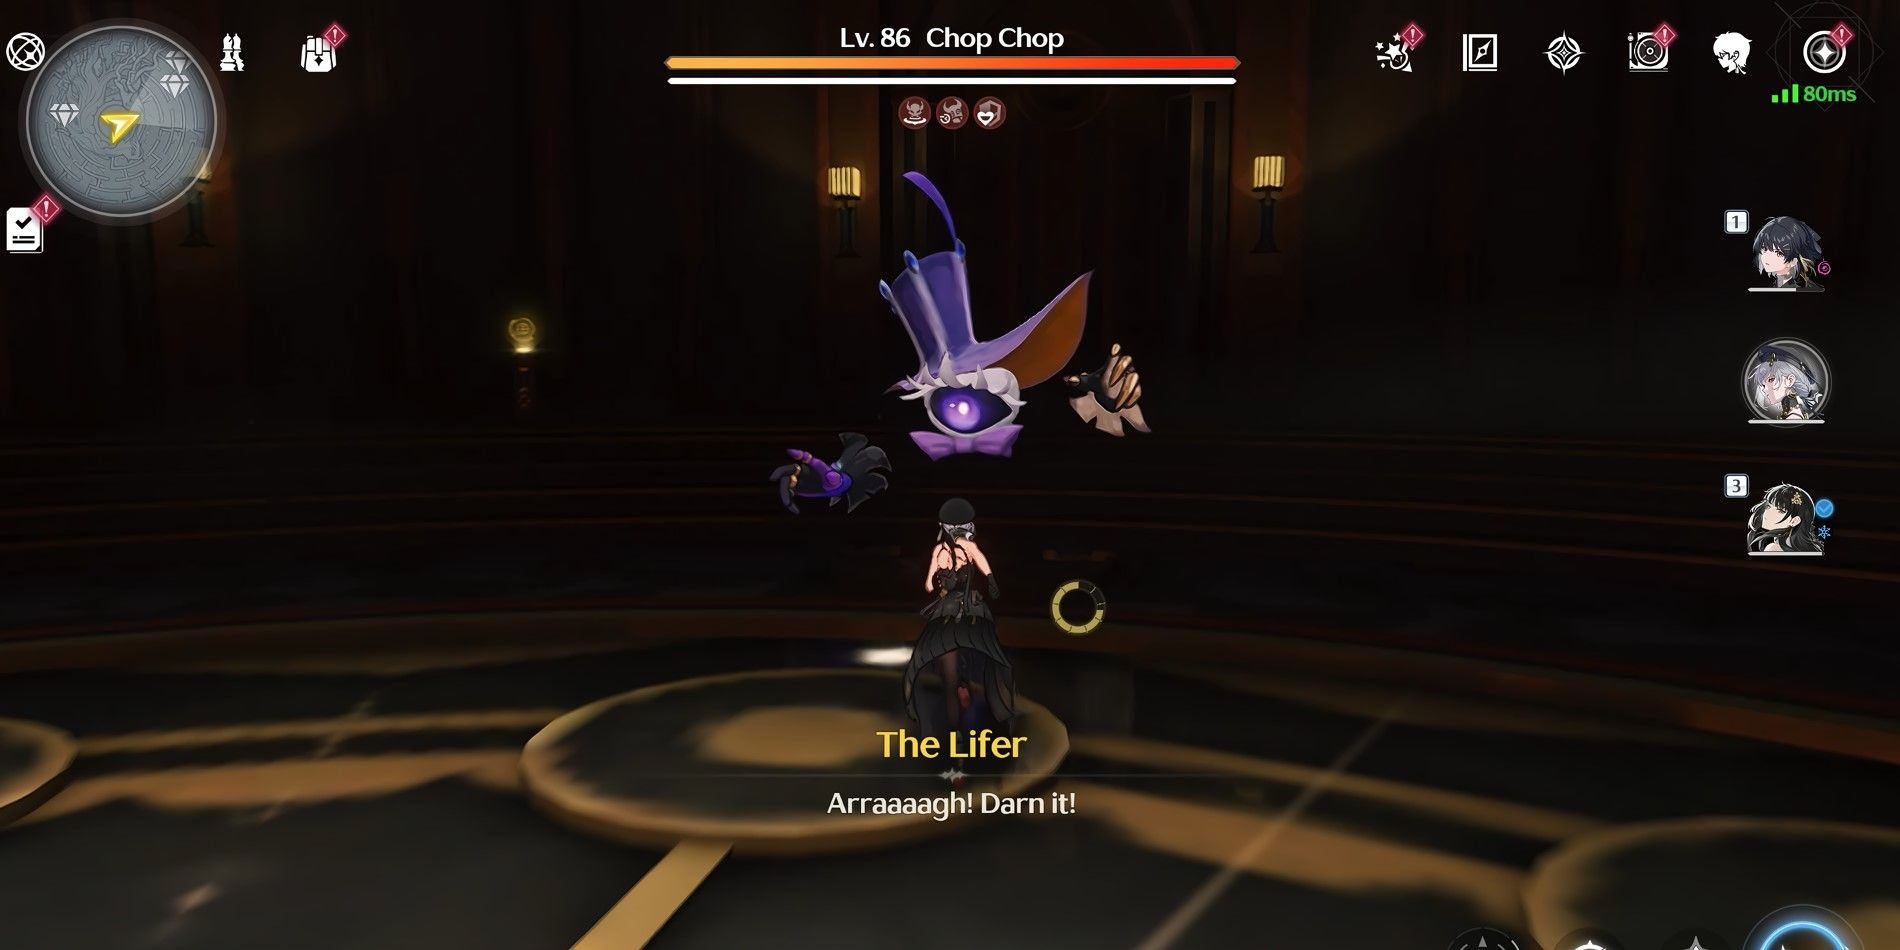
Wuthering Waves version 2.0 introduces the captivating Rinascita region, teeming with fresh Tacet Discords for players to explore. Among these new encounters is the Chop Chop—a whimsical floating eyeball sporting a top hat and accompanied by two hovering hands, reminiscent of a scene from Alice's Adventures in Wonderland. While various Chop Chops roam Rinascita, the Lifer stands out as a formidable challenge.
Located at the heart of the maze in Oakheart Highcourt within the Fagaceae Peninsula, the Lifer is a unique Chop Chop bolstered by multiple buffs that enhance its resilience and damage output. This guide will detail how players can strip away many of the Lifer's buffs in Wuthering Waves, significantly easing the battle.
How to Defeat the Lifer
How to Find the Lifer
The Lifer awaits at the center of the maze in Oakheart Highcourt, nestled beneath the roots of a colossal tree. Not all paths to the Lifer are initially accessible. The default open entrance is on the southwest side, aligned with the Resonance Beacon near Oakheart Highcourt. Players can either climb the walls from the beacon's direction or utilize the Flight function to soar over the maze.
The Lifer Board Game
Upon entering, players will encounter the Lifer beside a large board game with six pieces. The goal is to align three pieces in a row before the Lifer does. Players maneuver the black pieces, while the Lifer controls the white ones. Crucially, the board game influences the maze's walls based on the placement of the black pieces. Placing a black piece on the outer circle opens all walls and gates in that direction. Players can pause and resume the game at any time, with piece positions saved.
While the board game isn't mandatory for engaging the Lifer—direct combat is an option—it's vital for debuffing the Lifer. It's advisable not to win the game until after removing the buffs, as victory triggers immediate combat.
How to Remove the Lifer's Buffs
The Lifer boasts seven buffs, making it a daunting foe without a well-prepared team. Four of these buffs can be neutralized using the Stake of Imbalance, while three remain permanent. Players can inspect these buffs via the glowing yellow module behind the Lifer.
Removable Buffs (Fragility):
- Growing Loneliness: The Lifer regenerates 10% of its Max HP every second if not attacked for over 2 seconds.
- Desire for Escape: Boosts the Lifer's ATK by 25%. Additionally, its damage output increases by 25% every 20 seconds.
- Impending Stalemate: Enhances the Lifer's ATK by 20% with each damage dealt, stacking up to 4 times. Stacks reset if no damage is dealt within 6 seconds.
- Decay of Time: Grants the Lifer 200% resistance to Glacio, Fusion, Electro, Aero, Spectro, and Havoc. Its Max HP increases by 25%.
Permanent Buffs (Stability):
- Chains of Confinement: The Lifer becomes immune to interruptions when its HP exceeds 50%.
- Endless Game: Reduces the duration of the Lifer's Immobilization state by 50%.
- Divine Garden: After receiving damage exceeding 25% of its Max HP in one hit, the Lifer repels and damages nearby enemies.
To find the Stake of Imbalance, players should use the Sensor utility tool near the Lifer to reveal four purple lines pointing to their locations. These lines guide players to four rooms on the maze's outer ring. To reach these rooms, manipulate the game board by placing black pieces in the direction of the desired room, thereby opening the corresponding walls and gates.
The positions of the pieces are preserved upon exiting the game board, allowing players to tackle each room sequentially.
Once a gate opens, follow the path to the room's end, where a winged statue awaits. Two rooms require defeating Tacet Discords, one involves shattering Friable Rocks, and the last Stake of Imbalance is found on a table. Each Stake of Imbalance is marked by a white glow, making it easy to locate and collect.
After securing a Stake of Imbalance, insert it into the module in front of the corresponding statue to strip the associated buff from the Lifer. Once a buff is removed, the purple line turns yellow when viewed through the Sensor.
Defeating the Lifer
 With all four buffs removed, the Lifer becomes significantly less challenging. Players can then choose to win the board game or select "Fight it out!" at the chair to start the battle. Without its removable buffs, the Lifer's abilities—punch, grab, or spin—become less threatening and deal reduced damage.
Defeating the Lifer for the first time rewards players with a Premium Supply Chest. A second victory grants another Premium Supply Chest and three Basic Supply Chests. A third victory yields an Advanced Supply Chest and three Standard Supply Chests.
Players can re-enable the buffs by interacting with the same four modules for a tougher fight, though no achievements are tied to defeating the Lifer with all buffs active.
The Lifer Achievements
In addition to the chests, players can earn four achievements related to the Lifer and its board game.
- The Lifer's Salvation: Defeat the Lifer in Oakheart Highcourt.
- The Ring of The Lifer: Collect all treasures guarded by the Lifer
- Defeat him three times to claim all nine chests.
- Limit of Intelligence: Win against the Lifer in the game in Oakheart Highcourt.
- Alpha Go: Lose to the Lifer 10 times in the game in Oakheart Highcourt.
For those struggling with the board game, focus on thwarting the Lifer's attempts to form a line. Eventually, the Lifer's impatience will lead to a mistake, providing an opportunity to secure victory.
 LATEST ARTICLES