Having a reliable light source for emergencies is essential, and compact everyday carry flashlights are now incredibly affordable. Currently, Amazon offers the Olight IMINI2 Keychain Flashlight for on
Author: JosephReading:3
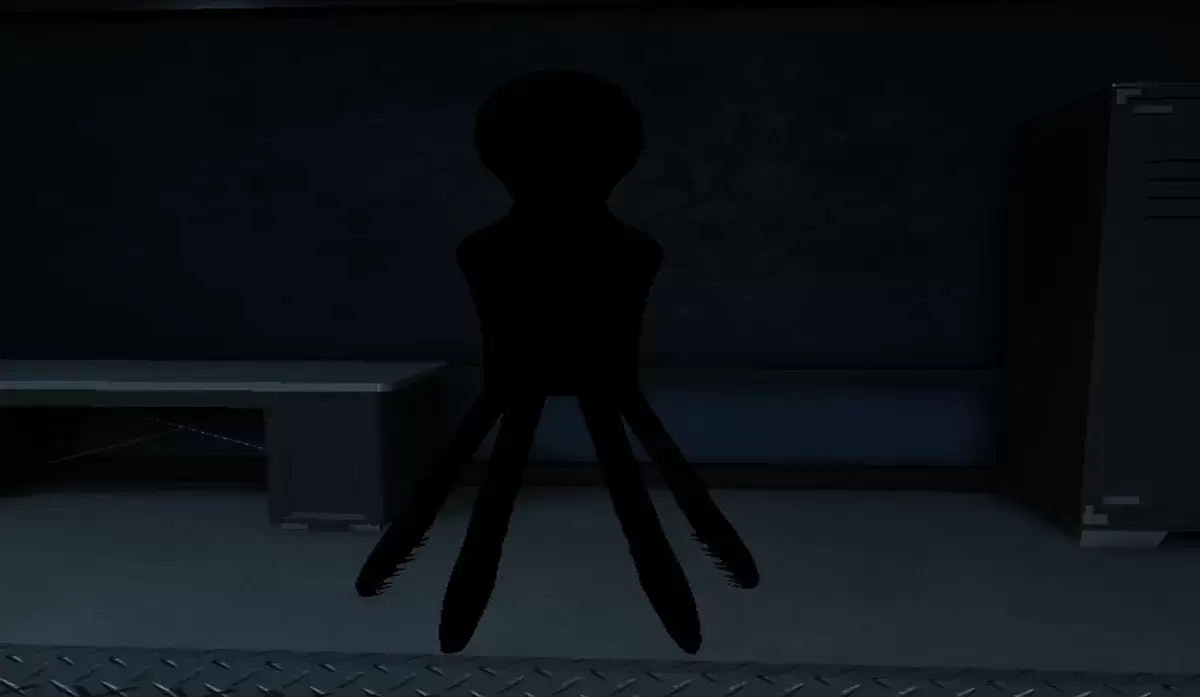
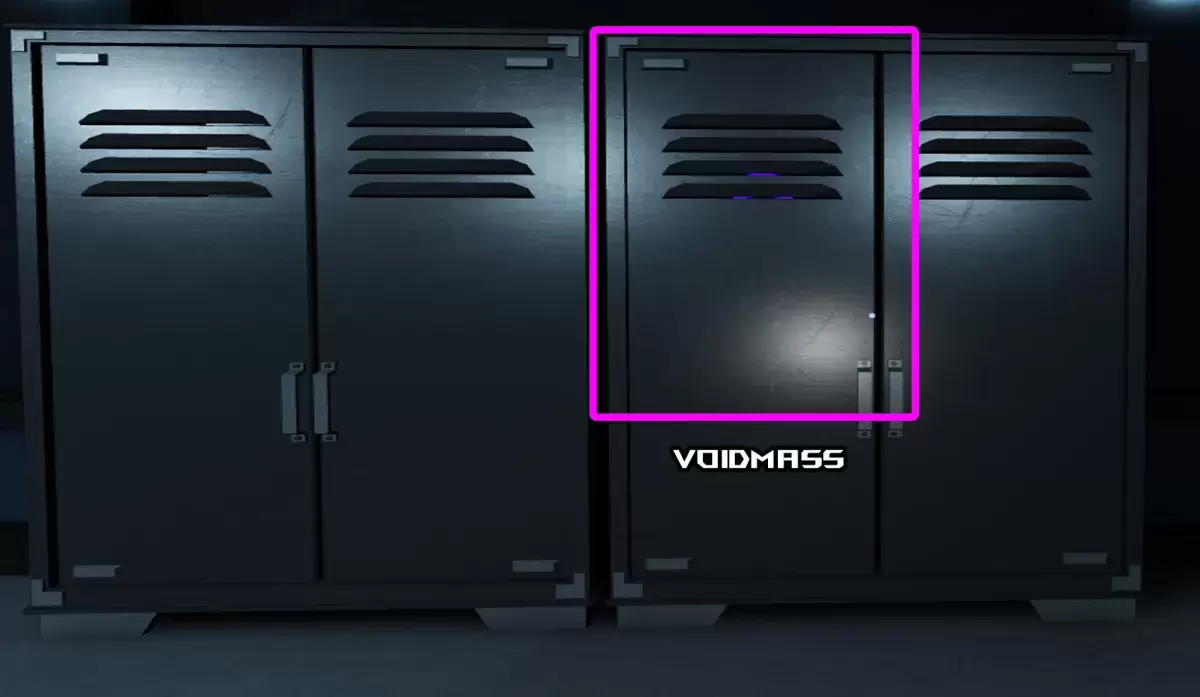
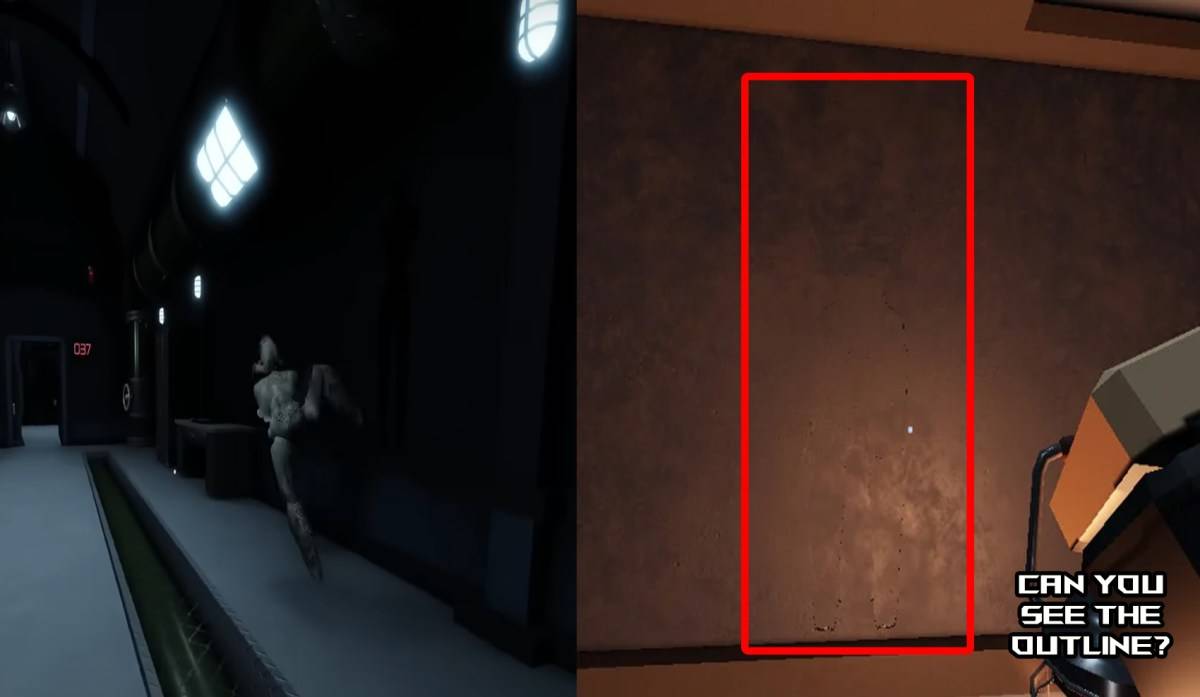
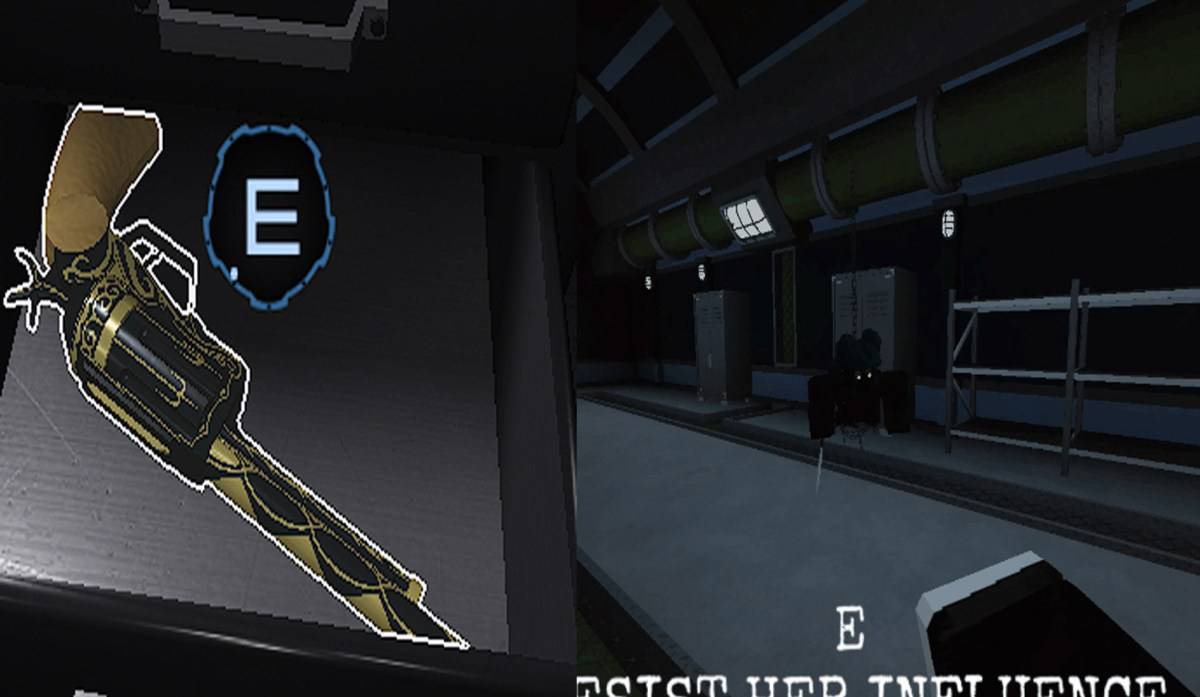
In the thrilling world of Roblox's *Pressure*, mastering the art of survival against each unique monster is crucial for clearing all rooms successfully. This guide will detail **all monsters in *Pressure* and how to survive them**, providing you with strategies tailored to each encounter. Whether you're facing random spawns, Node monsters with specific paths, or area-specific threats like The DiVine in Oxygen Gardens, understanding these tactics is key. Remember, while hiding is often a viable strategy, be wary of **Cleithrophobia**, which can force you out of hiding if you stay too long. Instead, pay close attention to the specific cues for each monster to time your actions perfectly.
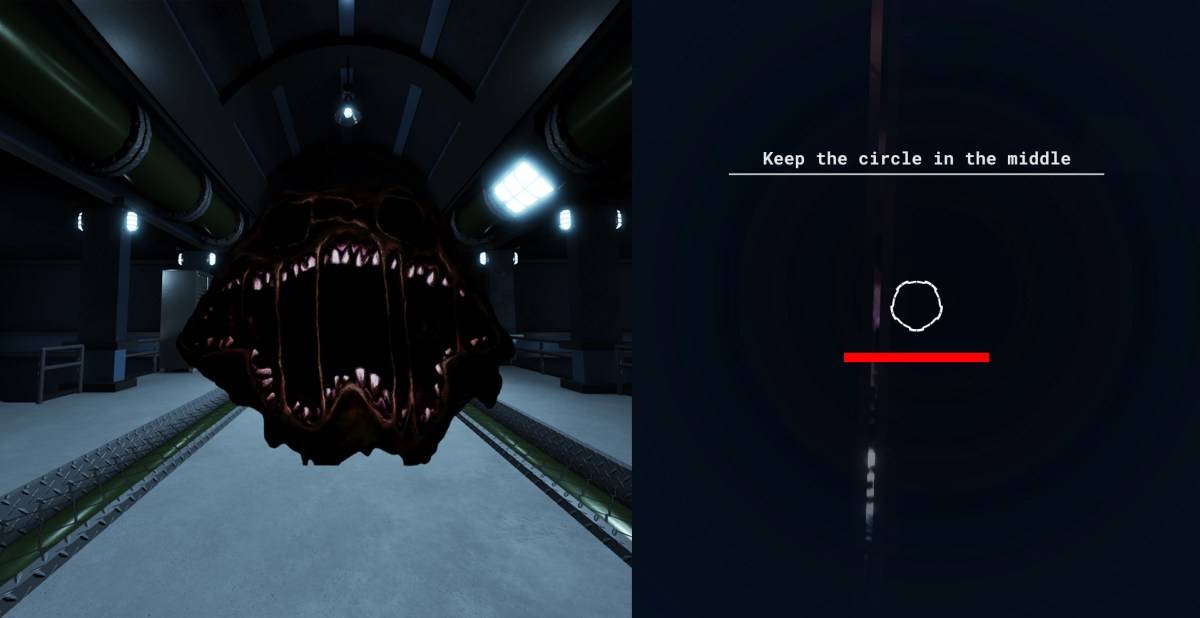
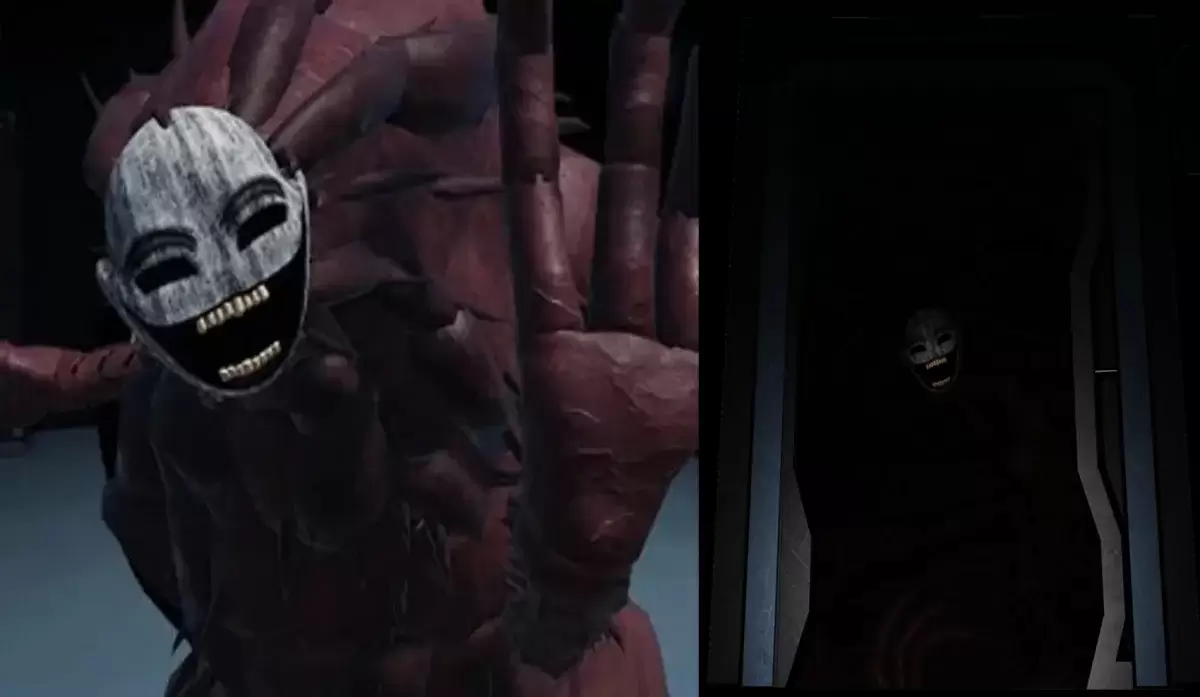

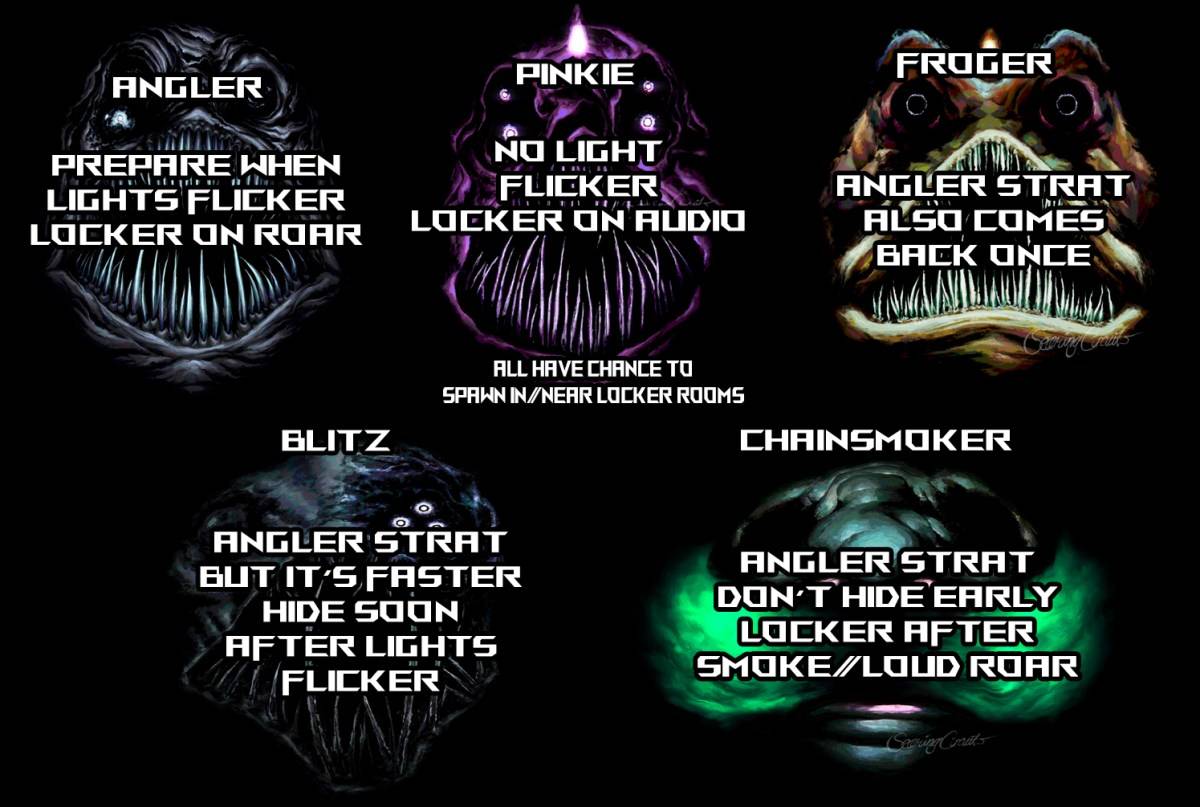
Pinkie operates similarly to The Angler but without the flickering lights warning. Listen for her screech and hide in a locker when she enters the room. She only appears where there are hiding spots.
Froger mirrors The Angler's behavior, with flickering lights and a screech. Hide promptly upon these signs. Unlike others, Froger rebounds back through the path, so be prepared to hide multiple times.
Chainsmoker's arrival is marked by flickering lights and the sound of rattling chains. Hide when your screen starts to shake to avoid his green smoke, which forces you out of lockers. Chainsmoker is one of the slower monsters, giving you a bit more time to react.
Blitz, the fastest among the Angler variants, signals his approach with a screech and a loud roar before entering a room. Be swift in finding a hiding spot due to his speed.
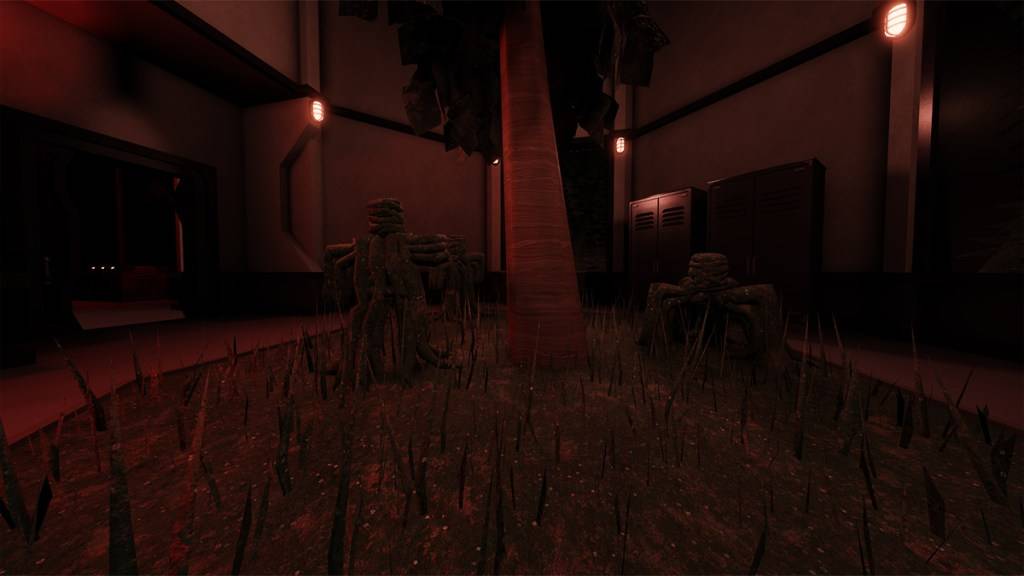
This comprehensive guide covers all monsters in Roblox's Pressure and how to survive them. Make sure to also check out our Pressure codes for additional in-game benefits.
 LATEST ARTICLES
 03
2026-04
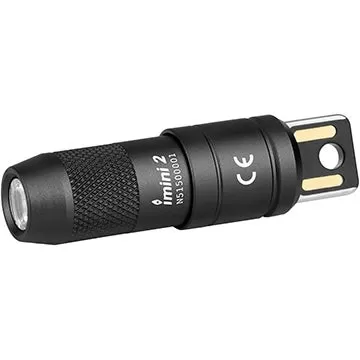
Having a reliable light source for emergencies is essential, and compact everyday carry flashlights are now incredibly affordable. Currently, Amazon offers the Olight IMINI2 Keychain Flashlight for on
Author: JosephReading:3
02
2026-04
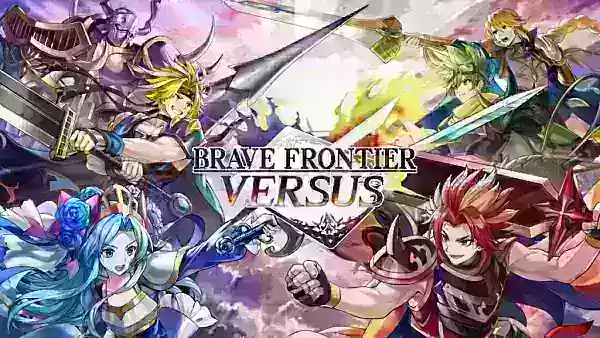
What is the gameplay like in Brave Frontier Versus? -------------------------------------------------- You assemble decks featuring iconic heroes from the original Brave Frontier universe. Then, you battle on a strategic battlefield where every mov
Author: JosephReading:9
30
2026-03
The iconic Space Marine battle cry is back, much to the delight of Warhammer 40,000 fans who strongly protested its removal from Dawn of War's legendary intro cinematic in the updated version created for the upcoming Definitive Edition.Here's the ful
Author: JosephReading:8
29
2026-03
Bethesda has confirmed Heretic + Hexen — the definitive re-release of two genre-defining first-person shooters — are now available on PC, PlayStation 4, PS5, Nintendo Switch, Xbox One, and Xbox Series X/S. id Software worked "in partnership" with Nig
Author: JosephReading:9