Having a reliable light source for emergencies is essential, and compact everyday carry flashlights are now incredibly affordable. Currently, Amazon offers the Olight IMINI2 Keychain Flashlight for on
Author: LeoReading:2
In the zombie-infested world of 7 Days To Die, mission variety keeps the gameplay exciting. While some missions, like buried treasure hunts, are relatively straightforward, others—like infested clear missions—present a significant challenge. These missions become available as you progress through the trader tiers, offering a thrilling test of survival skills and rewarding players handsomely. This guide details everything you need to know about conquering these perilous infested missions.
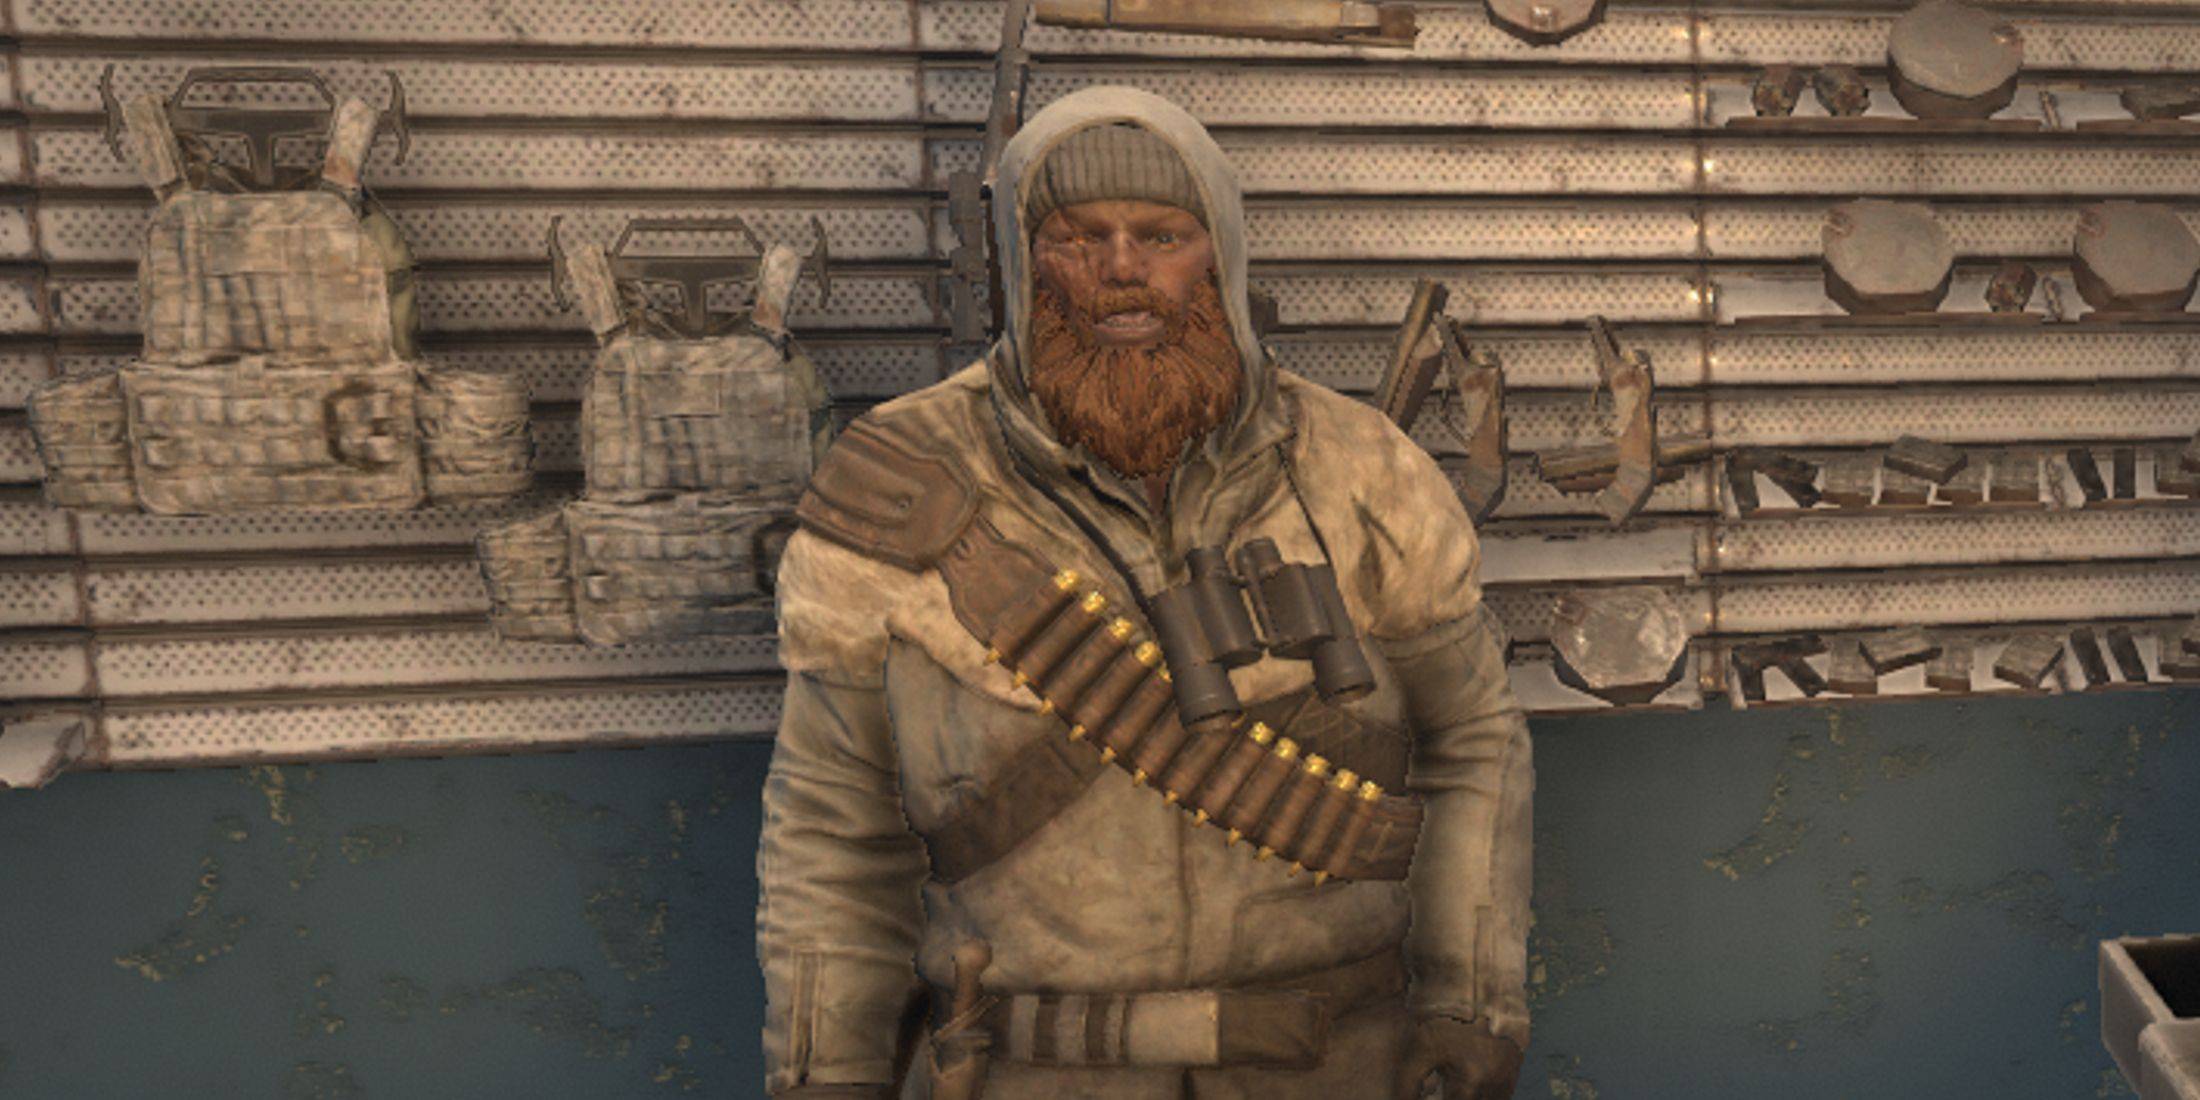
 To begin any mission, you'll need to visit one of the five traders in a standard map: Rekt, Jen, Bob, Hugh, or Joe. The choice of trader doesn't significantly impact the mission itself; the key factors are the mission location and tier. Higher tiers mean tougher missions, and the biome influences enemy types and difficulty. For example, a forest mission will likely have fewer ferals than a wasteland mission.
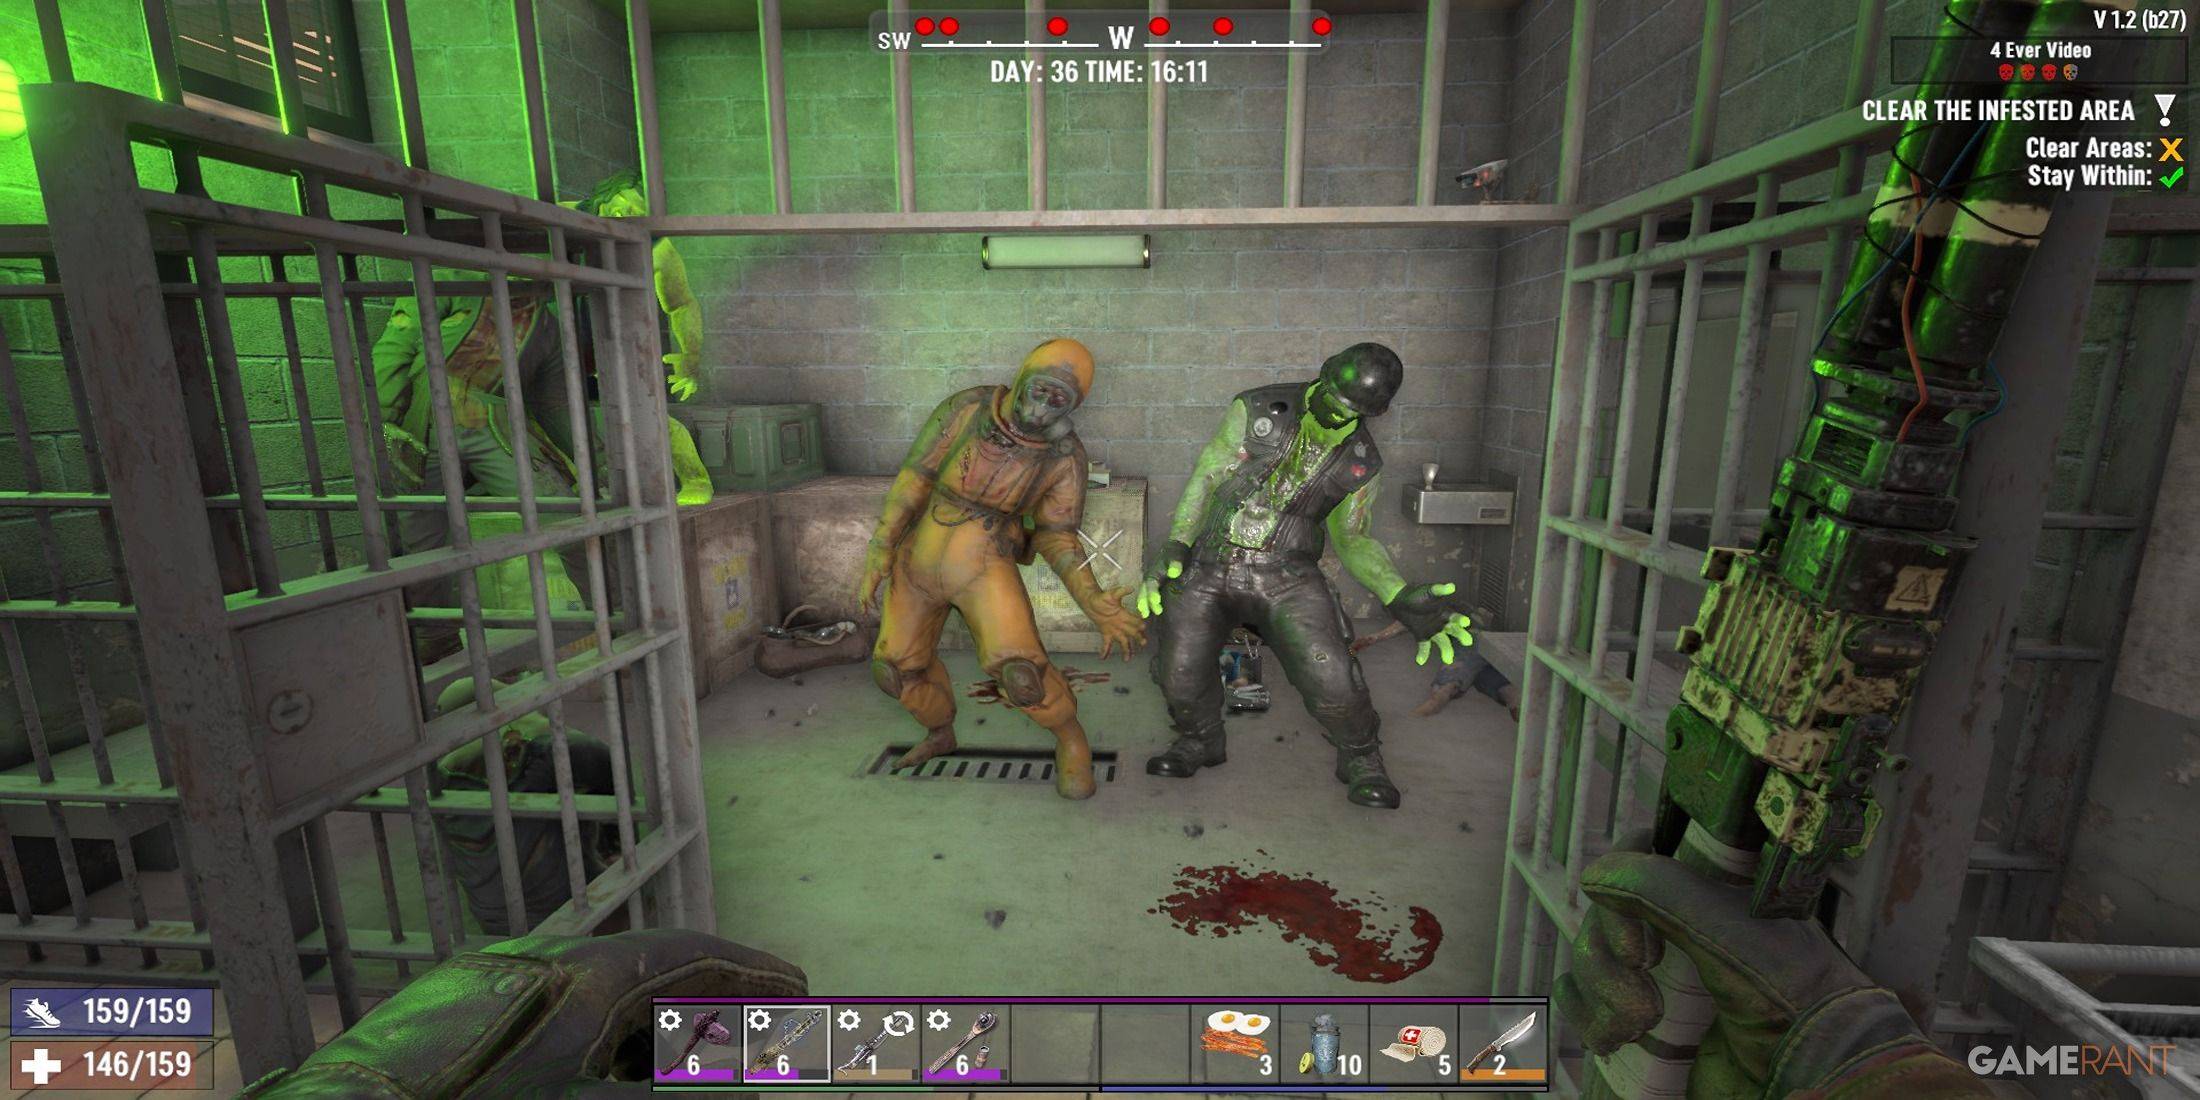
Infested missions unlock at Tier 2, requiring completion of 10 Tier 1 missions. These missions are considerably harder than standard clear missions, featuring a larger number of tougher zombies, including radiated zombies, cops, and ferals. Tier 6 infested missions are the game's most challenging, but by that point, you should be well-equipped to handle them. Regardless of tier, the objective remains the same: eliminate all enemies within a designated area.
 Upon arriving at the Point of Interest (POI), activate the mission marker to begin. Leaving the POI area will result in mission failure, as will death. Respawning after death will occur outside the mission area.
Each POI is designed with a specific path in mind. Multiple trigger points within the POI activate events like collapsing floors or zombie ambushes. To avoid these, take an alternative route; the intended path is often illuminated by torches or lanterns. Avoiding the designated path helps you sidestep dangerous traps.
Carry building blocks to escape traps quickly or to scale buildings, allowing you to surprise zombies from unexpected angles. Activated zombies appear as red dots on the screen, their size indicating proximity. This helps track their location and avoid being overwhelmed.
As in most zombie games, aim for the head. While headshots are generally effective, certain zombies have special abilities:
| Zombie Type | Abilities | How To Handle Them |
|---|---|---|
| Cops | Spit toxic vomit and explode when injured | Watch for their head-throw before spitting; use cover and maintain distance. |
| Spiders | Jump long distances | Listen for their screech before they jump; prepare for quick headshots. |
| Screamers | Summon other zombies | Prioritize eliminating them to prevent overwhelming hordes. |
| Demolition Zombies | Carry explosive packages | Avoid hitting their chests; if the explosive beeps, run. |
The final room often contains high-tier loot, but be cautious; it's typically heavily guarded. Ensure you're fully healed, weapons are loaded and durable, and you know the escape route before entering. Always prioritize your survival; if overwhelmed, retreat immediately.
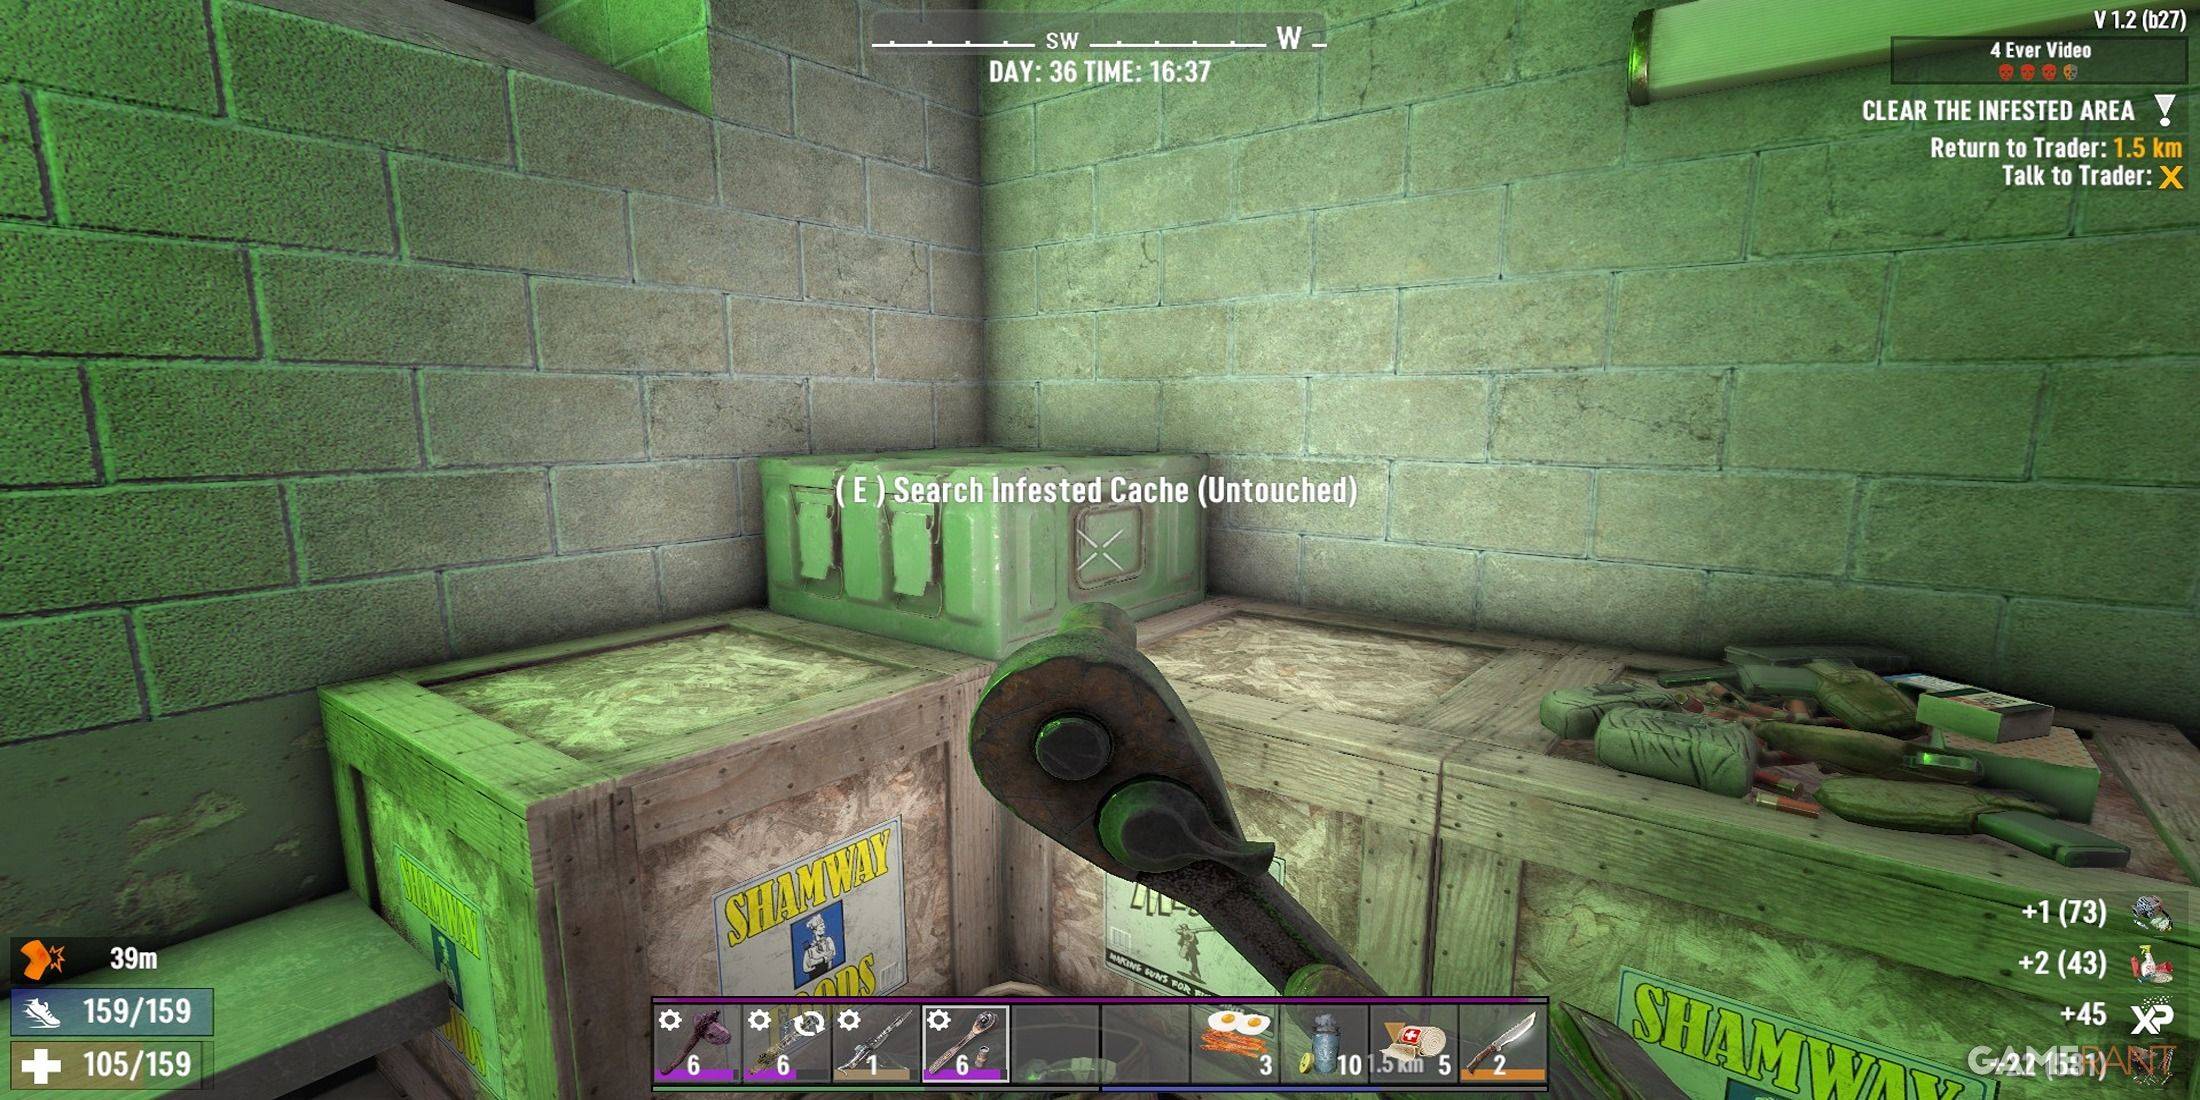
Once all zombies are eliminated, the objective changes, and you report back to the trader for your reward. Collect all loot before leaving, including the infested cache, which usually contains valuable ammo, magazines, and other high-quality items.
 The trader offers a random reward, the quality of which depends on several factors:
Investing in "A Daring Adventurer" is highly recommended; the extra Dukes and ability to choose two rewards significantly increase the value of completed missions. After claiming rewards, sell unwanted items to the trader for additional XP (1 XP per Duke).
 LATEST ARTICLES
 03
2026-04
Having a reliable light source for emergencies is essential, and compact everyday carry flashlights are now incredibly affordable. Currently, Amazon offers the Olight IMINI2 Keychain Flashlight for on
Author: LeoReading:2
02
2026-04
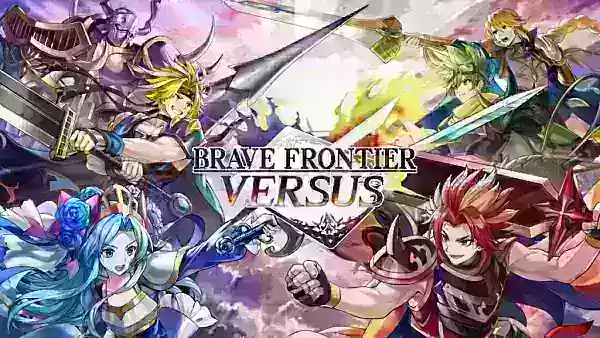
What is the gameplay like in Brave Frontier Versus? -------------------------------------------------- You assemble decks featuring iconic heroes from the original Brave Frontier universe. Then, you battle on a strategic battlefield where every mov
Author: LeoReading:2
30
2026-03
The iconic Space Marine battle cry is back, much to the delight of Warhammer 40,000 fans who strongly protested its removal from Dawn of War's legendary intro cinematic in the updated version created for the upcoming Definitive Edition.Here's the ful
Author: LeoReading:4
29
2026-03
Bethesda has confirmed Heretic + Hexen — the definitive re-release of two genre-defining first-person shooters — are now available on PC, PlayStation 4, PS5, Nintendo Switch, Xbox One, and Xbox Series X/S. id Software worked "in partnership" with Nig
Author: LeoReading:4